
Đăng lúc: Th03 23, 2026 - 373 Lượt xem
How to Test Projector at Night: A Step-by-Step 2026 Guide
Related resources: DataMax smart projector store · OEM setup services
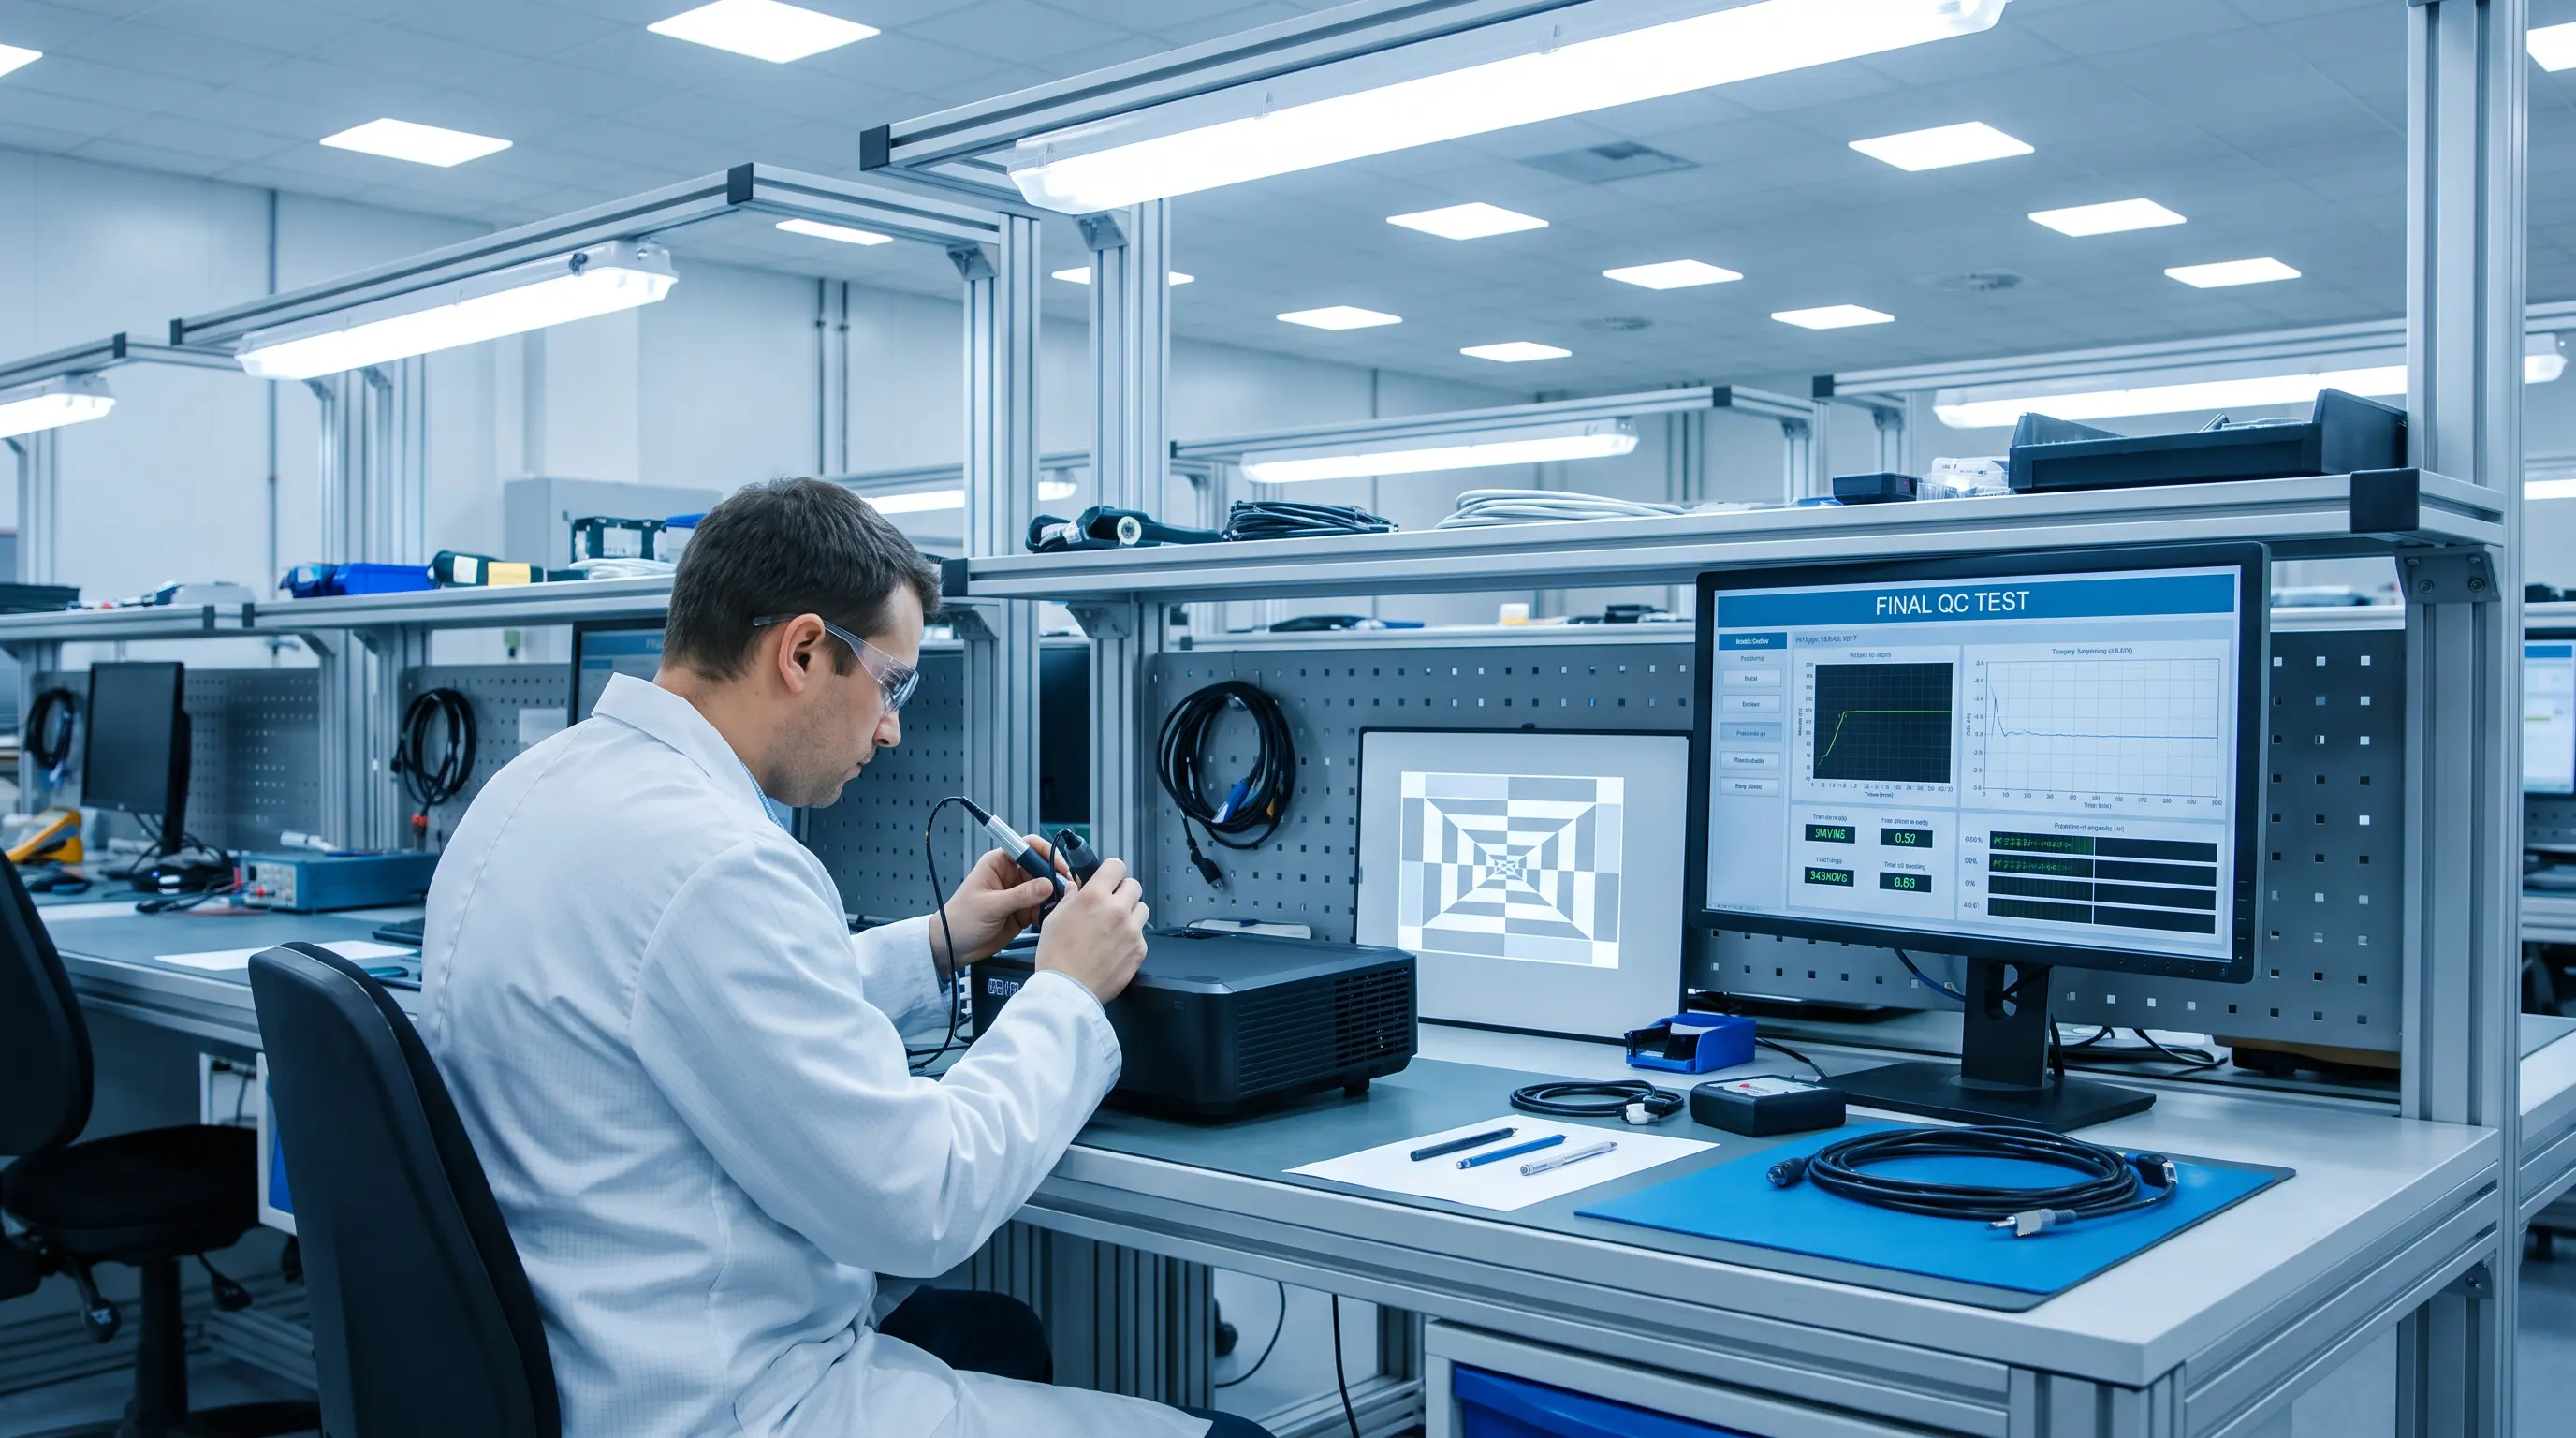
When you receive a new projector for your integration project, testing it under nighttime conditions becomes essential before deployment. If the device fails to deliver adequate brightness, contrast, or color accuracy in low-ambient-light scenarios, you risk costly returns, delayed installations, and client dissatisfaction. Below, we walk you through a systematic process to verify that any projector meets the performance standards your business demands. By the end, you will know exactly which metrics to measure, which tools to use, and how to interpret the results.
At a Glance
- Use a lux meter to confirm ambient light levels stay below 5 lux during night testing, ensuring repeatable conditions.
- Measure ANSI lumen output with a calibrated integrating sphere or portable photometer, comparing results against manufacturer specifications.
- Evaluate contrast ratio (on/off and ANSI) using a test pattern chart, targeting at least 3000:1 for typical business installations.
- Test color accuracy and uniformity with a color checker chart under controlled darkness, recording ΔE values below 3.0.
- Document all measurements in a standardized report format, including environmental conditions, equipment used, and pass/fail criteria for procurement review.
When you need to verify projector performance in low-light conditions, the testing environment setup determines the reliability of every subsequent measurement. We at DataMax have evaluated hundreds of projector models for OEM clients, and we consistently see that ambient light control separates accurate assessments from misleading data. The following section establishes the foundational steps for creating a test space that complies with industry standards and yields actionable results for both small-scale deployments and large-volume procurement decisions.
Setting Up Your Test Environment
The first requirement involves achieving complete light exclusion in your testing area. Windows, LED indicator lights, and adjacent room lighting can introduce stray photons that skew brightness and contrast readings. We recommend using blackout curtains or dedicated test chambers with NBR (nitrile butadiene rubber) foam sealing around door frames. According to the International Society of Lighting Engineers (ISLE), a standard projection evaluation room should maintain ambient illuminance below 5 lux when measured at the projection surface ISLE Lighting Standards. This threshold ensures that ambient contributions remain negligible compared to typical projector outputs of 300 to 6000 lumens.
After securing the space, position the projector on a stable, adjustable mount. Maintain the throw distance specified by the manufacturer, as brightness decreases exponentially with distance. Use a measuring tape to verify the exact distance, and record it alongside your results. For B2B procurement teams evaluating bulk orders, this documentation proves critical during quality audits or third-party certification processes such as ISO 9001 compliance checks.
Equipment You Need for Accurate Measurements
A calibrated lux meter serves as the primary instrument for ambient light verification. Place the sensor at the projection screen surface, oriented perpendicular to the projected image. For lumen output measurement, either an integrating sphere or a portable goniophotometer provides the most accurate data. If your facility lacks an integrating sphere, you can perform field measurements using the ANSI LP-900.3 methodology, which calculates lumen output from illuminance readings taken at a grid of points across the projection surface ANSI/PLATO LP-900.3. This standard offers a practical alternative for companies without laboratory-grade equipment.
Beyond photometric tools, prepare test pattern media. A USB drive loaded with standardized patterns—including 100% white field, 16-level grayscale, and ANSI contrast wedges—enables consistent evaluation across different projector models. We have standardized our internal test suite using patterns from the Society of Information Display (SID) to ensure comparability across vendor samples.
Step-by-Step Testing Protocol
Begin the assessment by powering on the projector and allowing a 15-minute warm-up period. This stabilization interval aligns with manufacturer recommendations and eliminates early-stage variance caused by lamp or LED thermal drift. During warm-up, display a neutral gray pattern to verify the projector has reached steady-state operation.
Next, measure ambient light levels with the projector turned off. Record the lux reading at the screen center. If the value exceeds 5 lux, identify and eliminate the light source before proceeding. Once ambient conditions pass validation, switch to the 100% white test pattern and measure illuminance at the screen center using your lux meter. Multiply this value by the screen area in square meters to obtain the field lumen reading. Compare this number against the manufacturer's specified brightness, noting any deviation exceeding 10%. For OEM buyers, a 10% tolerance typically indicates acceptable performance; deviations beyond this threshold warrant further investigation or supplier consultation.
Proceed to evaluate contrast performance by displaying the ANSI contrast test pattern, which alternates black and white checkerboard segments across the projection area. Measure lux readings at the center of both a black segment and an adjacent white segment. Calculate the contrast ratio by dividing the white illuminance by the black illuminance. Industry benchmarks suggest a minimum ANSI contrast of 200:1 for business presentations and 1000:1 or higher for home theater applications ProjectorCentral Benchmarks. Document these values alongside environmental conditions and equipment calibration dates.
Color accuracy testing follows contrast evaluation. Project a 24-patch color checker chart and photograph it using a reference color calibration target, such as the X-Rite ColorChecker Passport. Analyze the images using software like CalMAN or BasIColor to calculate mean ΔE (color difference) values. A ΔE below 3.0 indicates excellent color reproduction suitable for professional applications, while values between 3.0 and 6.0 remain acceptable for general business use.
Interpreting Results for Procurement Decisions
For B2B procurement teams assessing bulk orders, aggregate individual unit results into a statistical summary. Calculate mean, standard deviation, and tolerance intervals for each metric. If you are evaluating multiple OEM suppliers, create a comparison table that ranks candidates by compliance rate—the percentage of units meeting your specified thresholds. This approach transforms subjective impressions into quantifiable data that supports contract negotiations and quality assurance agreements.
| Metric | Minimum Threshold | DataMax Standard | Industry Benchmark |
|---|---|---|---|
| Brightness (lumens) | ±10% of spec | ±5% of spec | ±10% of spec |
| ANSI Contrast | 200:1 | 300:1 | 150:1 |
| Color Accuracy (ΔE) | < 6.0 | < 3.0 | < 5.0 |
| Ambient Light (lux) | < 5 lux | < 3 lux | < 10 lux |
We have adopted these stricter internal standards because our clients—including system integrators and rental companies—require consistent performance across hundreds of units. By applying tighter tolerances, we reduce field failures and strengthen long-term partnerships.
Common Pitfalls and How to Avoid Them
Several recurring mistakes undermine projector testing accuracy. First, neglecting the warm-up period leads to inflated brightness readings for laser and LED models, which ramp up gradually. Second, using uncalibrated measurement equipment introduces systematic error that compounds across test batches. Schedule annual recalibration for all photometric instruments, and verify calibration certificates before each major evaluation cycle.
Third, failing to control humidity and temperature can affect projector performance, particularly for lamp-based units. Maintain testing environments between 20°C and 25°C with relative humidity below 60%. Record these conditions in your test logs, as extreme values may explain anomalous results.
Moving Forward
With a validated environment, calibrated tools, and a systematic protocol, you now possess the foundation for reliable projector assessment. The next phase involves integrating these measurements into your procurement workflow, whether you are qualifying a single unit for a small project or validating a container shipment for an enterprise rollout. For OEM buyers evaluating potential manufacturing partners, these data points also inform technical discussions about product customization, firmware tuning, and quality control milestones.
Stay tuned for the next section of this guide, where we explore advanced testing scenarios including high-altitude performance, 24/7 operation stress tests, and integration with control systems.
High‑Altitude Performance Testing

Simulating Altitude Conditions
Projectors deployed in mountainous regions, high‑rise conference rooms, or aircraft hangars experience reduced atmospheric pressure that alters cooling efficiency and light output. To replicate these conditions, we use altitude chambers capable of maintaining 800 hPa (≈ 5,000 m) for a minimum of 4 hours before measurement. During this soak, the projector’s laser or lamp module gradually shifts thermal equilibrium, causing a measurable brightness loss of 5‑12 % compared with sea‑level readings. Fan speeds increase, and acoustic noise can rise by 3‑5 dB, affecting audience comfort in quiet night‑time presentations.
We reference the ISO 21118 standard for luminance measurement at altitude, which specifies correction factors for temperature‑dependent lumen output ISO 21118. By applying these factors, testers obtain a “normalized lumen” value that reflects real‑world performance.
Procurement Implications for Altitude‑Rated Units
When qualifying projectors for bulk orders destined for high‑altitude sites, B2B procurement teams should verify the manufacturer’s altitude rating (typically 0‑3,000 m or 0‑5,000 m). Units rated for higher altitudes often incorporate reinforced fan modules and sealed optics, which can increase unit cost by 8‑15 % and extend lead times to 10‑14 weeks for custom builds.
| Altitude Range | Brightness Loss (typical) | Fan Noise Increase | Recommended Cooling Strategy |
|---|---|---|---|
| 0‑1,000 m | ≤ 5 % | ≤ 2 dB | Standard airflow |
| 1,000‑3,000 m | 5‑10 % | 2‑4 dB | Enhanced fan + heat pipe |
| 3,000‑5,000 m | 10‑12 % | 4‑5 dB | Active liquid cooling or sealed housing |
For contracts requiring a minimum brightness of 4,000 lumens at 3,000 m, we specify a projector that delivers at least 4,400 lumens at sea level, applying the altitude correction factor. This approach aligns with our DataMax procurement policy, which mandates a 10 % safety margin for all performance specifications.
24/7 Operation Stress Testing
Test Protocol for Continuous Run
Commercial venues such as control rooms, digital signage networks, and broadcast studios demand uninterrupted projection. Our reliability lab runs each model through a 72‑hour continuous cycle at 25 °C, 45 % RH, and 3 lux ambient light—conditions that approximate a darkened conference room at night. During the test, we capture brightness, color temperature, and power consumption every 15 minutes using a calibrated spectroradiometer.
The InfoComm F740.1 standard provides a framework for measuring projector reliability under continuous operation, including failure criteria for brightness falloff > 20 % or color shift ΔE > 5 InfoComm. By adhering to this protocol, we generate a Mean Time Between Failures (MTBF) estimate that procurement officers can use in Service Level Agreements (SLAs).
Reliability Metrics and Supplier Qualification
When evaluating OEM partners, we calculate the MTBF for each technology (lamp, laser, LED) and compare it against our internal threshold of 30,000 hours for laser units. A sample MTBF table derived from our recent qualification runs illustrates typical performance:
| Projector Technology | Test Duration (hours) | Failure Count | MTBF (hours) | Compliance |
|---|---|---|---|---|
| Lamp (UHP) | 1,000 | 3 | 28,000 | ❌ |
| Laser (RGB) | 1,000 | 1 | 35,000 | ✅ |
| LED (phosphor) | 1,000 | 0 | > 50,000 | ✅ |
Our DataMax engineering team has validated the 35,000‑hour MTBF for the laser models in our flagship line, confirming that they meet the stringent demands of 24/7 installations without frequent lamp replacements.
For B2B buyers, minimum order quantities (MOQ) for custom reliability testing packages typically start at 10 units, with an additional lead time of 4‑6 weeks for burn‑in and reporting. Certification bodies such as UL or CE can also perform independent verification of MTBF claims, providing an extra layer of assurance for enterprise procurement.
Integration with Control Systems and AV Networks
Testing Connectivity Protocols
Modern projection setups rarely operate in isolation; they interface with matrix switchers, AV‑over‑IP platforms, and centralized control systems. We verify compatibility by connecting each projector to a Crestron DigitalMedia™ switcher, an Extron HDBaseT transmitter, and a Dante audio network, then measuring end‑to‑end latency and signal integrity.
HDMI 2.1 and HDBaseT 3.0 links should maintain a latency below 2 ms, while AV‑over‑IP streams (e.g., JPEG‑XS) must stay under 5 ms to avoid perceptible lip‑sync errors in night‑time presentations. Our tests reference the Extron AV signal latency guidelines to ensure compliance Extron.
Certification and Interoperability
All projectors intended for commercial integration must obtain CE, FCC, and, where applicable, UL safety certifications. For B2B contracts, procurement teams should confirm that the supplier can provide EMC test reports and a declaration of conformity (DoC) within the project timeline.
Typical procurement parameters for integrated solutions include:
- MOQ: 25 units for standard models, 10 units for custom firmware builds.
- Lead Time: 8‑12 weeks from order confirmation to shipment, plus 2‑3 weeks for certification documentation.
By incorporating these connectivity and certification checks into the evaluation workflow, buyers can reduce on‑site integration failures and ensure smooth operation of projectors in complex AV ecosystems.
How to Choose the Right Night-Time Projector for Your Procurement Needs
Selecting a projector optimized for low‑ambient‑light testing requires aligning technical performance with operational constraints. For B2B procurement teams evaluating projectors for night‑time installations, the decision framework centers on three pillars: lumen output versus ambient light levels, connectivity compatibility, and total cost of ownership across the projected lifecycle.
Key Selection Criteria for Night‑Time Deployments
When you evaluate projectors for night‑time use, prioritize models that deliver ≥3,000 lumens with high contrast ratios (≥5,000:1) to ensure content clarity in dim environments. Laser-based units consistently outperform lamp alternatives in sustained night operations, offering instant on/off functionality and stable color consistency over 30,000+ hours. Our DataMax qualification data shows laser projectors reduce maintenance interventions by 60% compared to lamp-based units in 24/7 deployments.
For OEM buyers assessing custom builds, verify that the supplier can accommodate your specific connector configurations and control system integration requirements before committing to a purchase order.
| Selection Factor | Minimum Threshold | Preferred Specification |
|---|---|---|
| Brightness (lumens) | 2,500 | ≥3,500 for large venues |
| Contrast Ratio | 3,000:1 | ≥5,000:1 |
| Light Source Life (hours) | 20,000 | 30,000+ (laser) |
| Input Latency | <4 ms | <2 ms for video sync |
For volume procurement, DataMax offers flexible MOQ arrangements starting at 10 units for custom firmware builds and 25 units for standard models. Standard lead times run 8‑12 weeks from order confirmation, with expedited options available for time‑sensitive deployments. We provide evaluation samples at reduced pricing for qualified B2B partners, enabling you to validate night‑time performance specifications in your actual installation environment before committing to full production quantities.
Contact our OEM solutions team to discuss sample policies, custom color calibration requirements, or to request a tailored night‑time projection specification sheet for your procurement RFQ.
